- UID
- 32214
- 阅读权限
- 60
- 注册时间
- 2013-2-2
认证会员
- 注册时间
- 2013-2-2
|
著作权归作者所有。
商业转载请联系作者获得授权,非商业转载请注明出处。
作者:沉没是鲸
链接:http://www.zhihu.com/question/26876832/answer/40621539
来源:知乎
Reading aLight Meter: Tips and Tricks
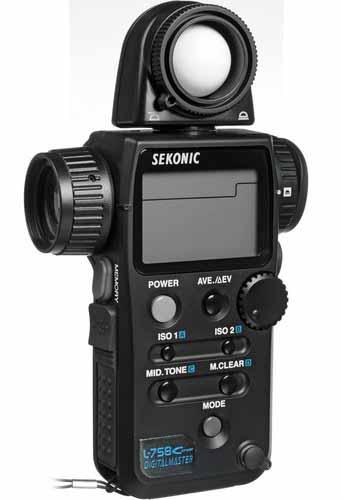
Many of you have asked me, why in this new digital age is a light meternecessary? When everything is immediate, as well as right there on an HDmonitor for your review, WHY the light meter? I have mentioned in the pastthat Roger Deakins feels like he can be much moreof a risk taker with digital. What you see is what you get. RIGHT! He has apoint. When you are infusing LUTs (look up tables) on your monitor and lightingto those specs, why would you need that old light meter that reads the valuesof illumination?
“Building Light Memory”
The lightmeter is essential for matching and to get your head around light ratios as ayoung cinematographer. If you look on the monitor and you like the way itlooks, the mood and the color tone, then get in there and read those levels andread the color temperature. These are all building blocks of your memory oflight.
“Mental Snapshots”
From the timethat I wake up till the time I rest my head on my pillow, I never stop lookingat light. Inspiration is everywhere. I take snapshots, little instagram shotsand store them in my mind. Now you have images to pull from when you arelighting a scene. Say you went to a really trendy bar and you loved the lightand mood. Store that mental snapshot. When you are set to light a club/barscene, use that mental snapshot if it fits the story and emotion of yourcreation. Download it into your lighting, levels, color and mood.

“Matching”
Training youreye to all the ratios that you like and want to deploy comes with experience.But matching is a huge issue, especially when shooting a feature or a shortfilm. Why? Well, so many times you are asked to go back and do pickups. Maybeyou missed a shot, or you screened the movie to an audience and they wereconfused on some things. You need to go back to the location or the set andduplicate the light. If you did not take light meter readings or mark down thecolor temp of your camera, you are flying blind. I go in there once I have litthe original scene and grab as many readings as possible to help in thisprocess. Now you have your edit, so you can go back and look at the levels andtry to match what you originally shot off a monitor. Why not have this as atool to help in this process?
“Light Meter Calibration”
Beforesetting off on a project, I always make sure that my light meter is accurate.The best way to simply do this is to send it to Quality Light and Metric in LosAngeles. HA HA!!! Or if this option is not available, then the tried and truespot meter test will suffice. The Sekonic L-758C is the ultimate meterbecause it is two meters in one. You are able to read the incident light levelswith the ball and the spot meter function gives you the ability to read pointsof light, the wall and buildings in the deep background to make sure there isenough fill level, grey cards, etc.
Let’s trythis. Take one light and aim it at an 18% grey card. Once you have done this,you can now read the grey card with the spot meter. Turn your incident spotselector dial to spot meter mode and fire it at the center of the grey card.
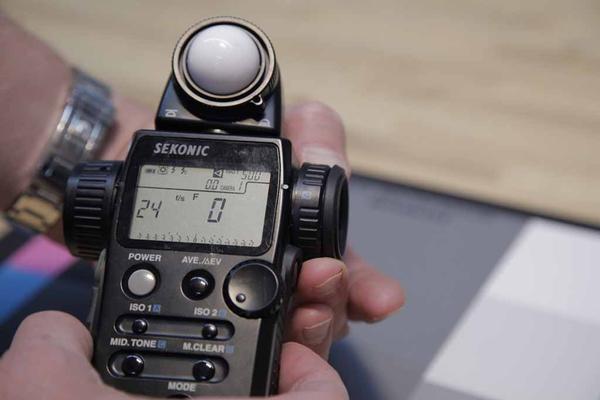 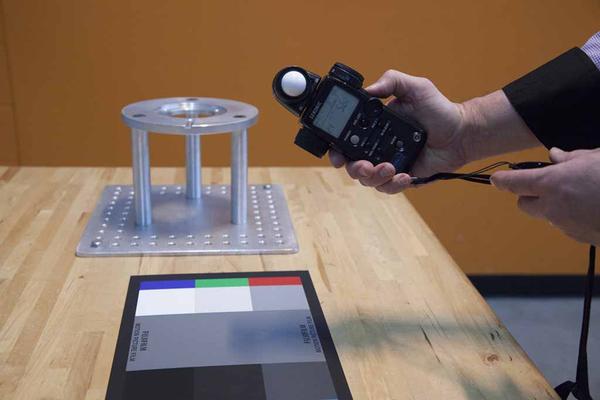
Once that level is acquired (we got a 5.6), you now turn the incident spotselector dial to incident meter mode and now read the key light that is aimingat the grey card.
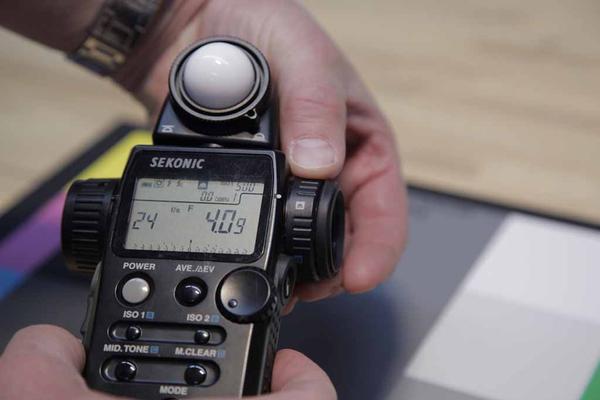 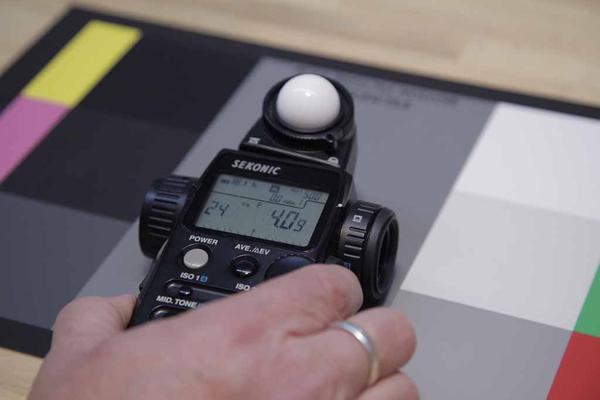
Our reading came up 4.0 9 10ths, which is basically a 5.6. So we now know thatour meter is calibrated perfectly.
“The Process of Reading Light”
There aremany tried and true ways to read a light meter. Let’s first set up your meterso that it matches the ISO to your camera’s ISO, the frame rate you areshooting and your shutter speed.
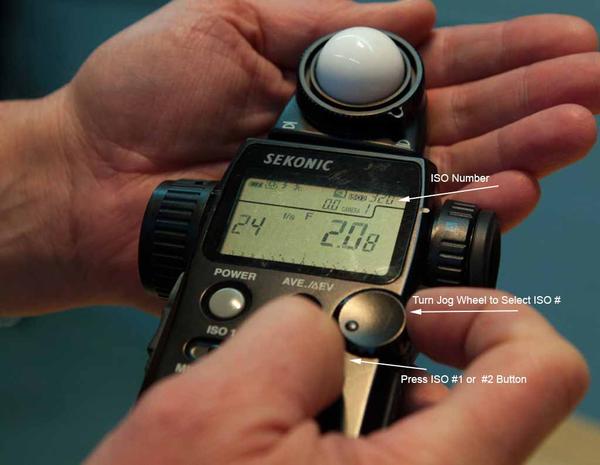 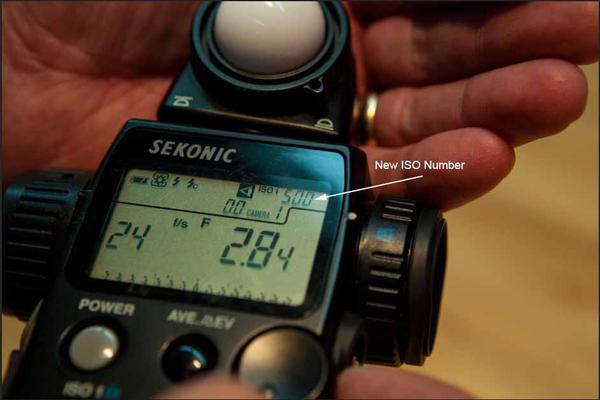 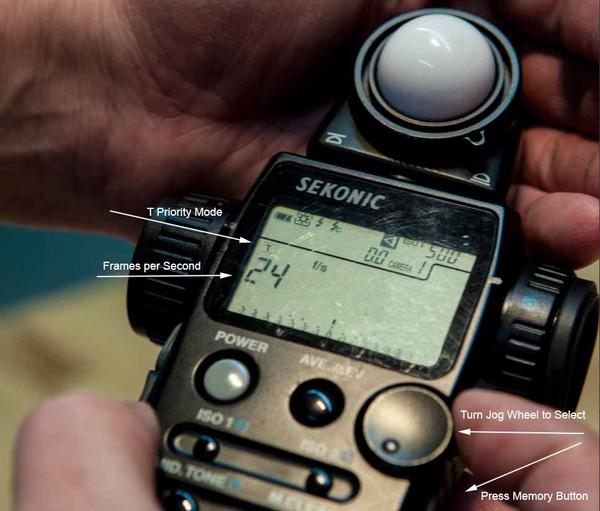 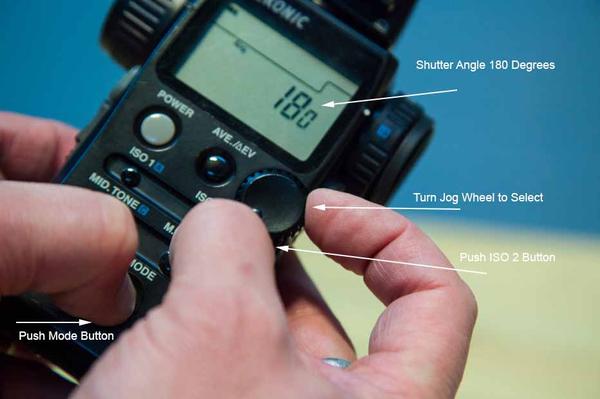
Ok, we have our meter set to the correct ISO, shutter speed and frame rate. Nowwe are going to discuss how to read light. I have tried to include everythingyou will need to know on how you aim your meter and how you position your hand.
“Day Exterior Work”
Reading SkyLight
To read ambient sky light, I hold my meter straight up at the sky.
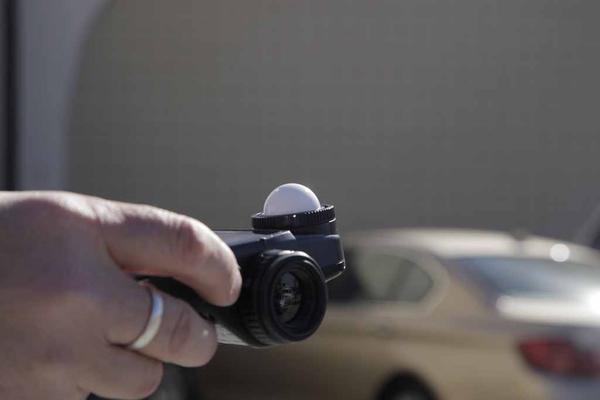
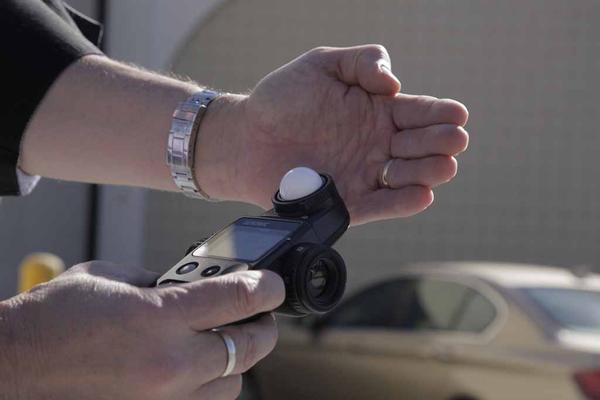
Then I cup my hand around the ball.
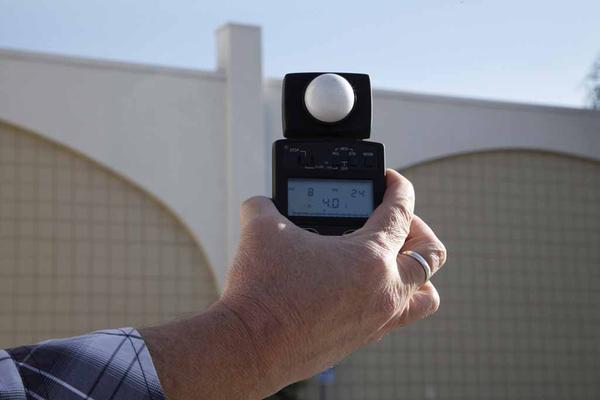
This is how I keep my balance when the sun is dropping and I need to manicurethe top light fill levels. This is so essential when you have lost the sun. Sayyou run out of time and you now have to cheat a close-up or an insert. Thiswill give you that level to be able to create it with artificial light.
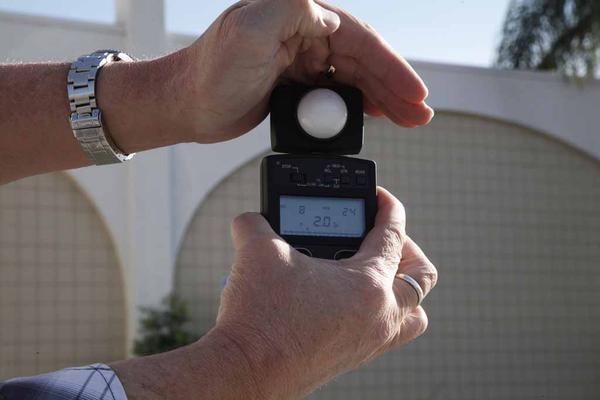
The other reading you have to grab before the sun escapes and pounds itselfinto the horizon is your ambient fill light level that is opposite the sun. Youneed to capture this level to again match all the sunlight that is bouncing offwalls, trees, etc. while the sun is setting and to also use if you have run outof light.
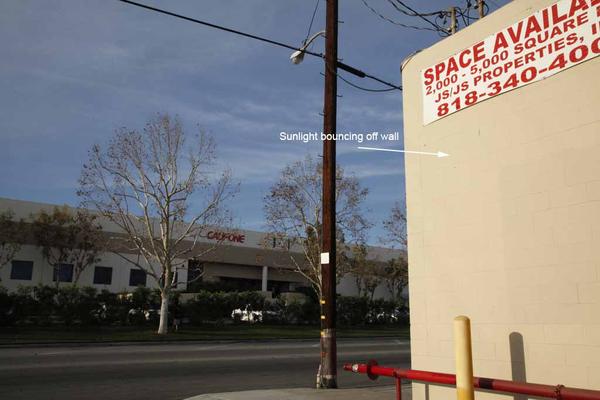
To do this reading you turn your meter opposite to the sun. Then shade the sunoff the top of the ball and cup your hand around it slightly. The final readingto achieve is what the sunlight is reading. Turn your meter towards the sun andhit the button to get this reading.
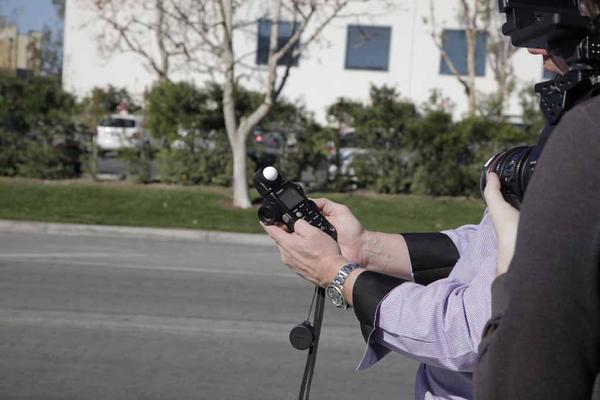
I cup the ball slightly to take out any unnecessary bounce light and sky toplight.
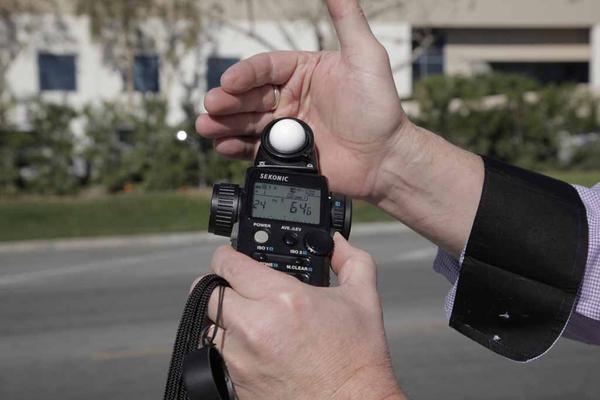
I find it absolutely essential to calculate in my head what the stop differenceis between the sunlight and the ambient fill light. This ratio between the twoexposures will be how you balance the light as the sun sets as well as usingthis ratio to light any close-ups or inserts that you might not have had thetime to grab while the sun was up. Trust me. This will happen to you because ithas happened to me about a thousand times. You cannot stop the sun fromsetting. I have tried all my life to achieve this, but have failed.
“Interior Stage Work”
Reading a KeyLight
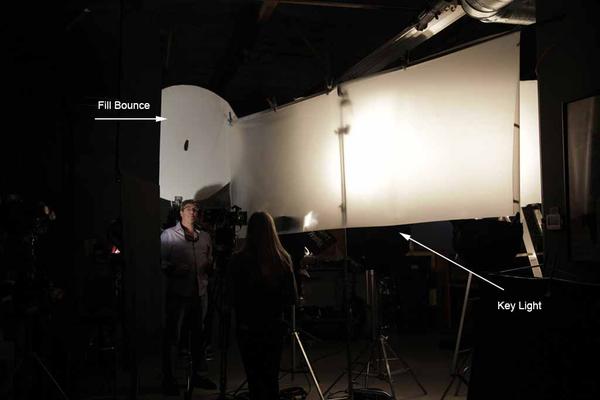
We have designed a lighting set up to help you see the subtle nuances that thelight reflects into the incident ball. Our fill light is slightly cooler and acircle bounce which will be easier to see. The key light is a rectangle sourceand slightly warmer in tone.
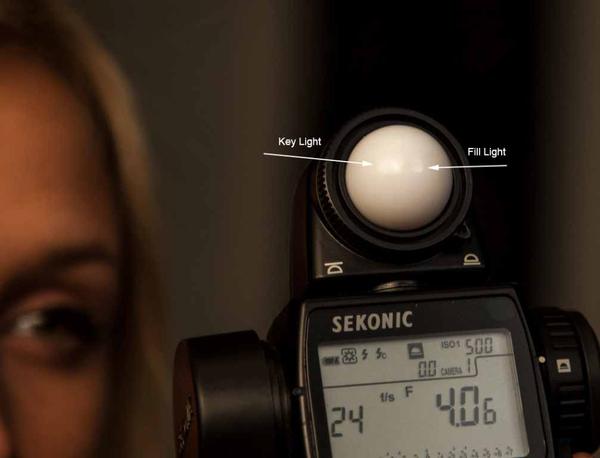
Our backlight is one of my baton lights and this will reflect 12 bulbs in theball.
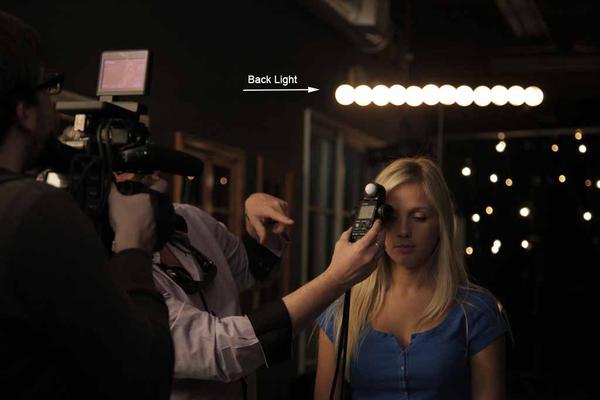
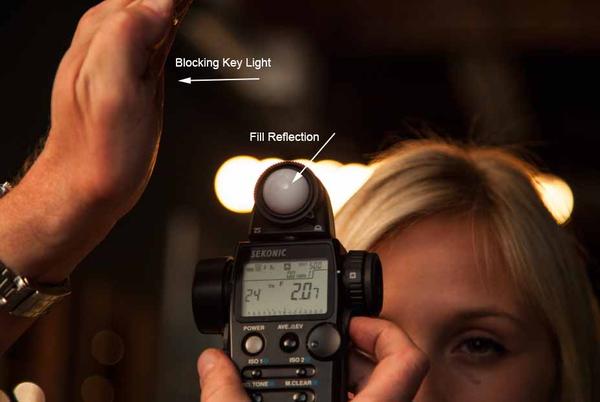
When reading a key light, you aim the light meter directly at the source. Putyour meter right next to your actor or stand in’s face and cup your handsaround the ball so that it is not getting influenced by your fill light orbacklight. I look into the ball to see if I am seeing the fill light reflectedin it. If I do, I cup my hand in a way that blocks this so that my reading ofthe key light is accurate.
Cupping yourhand around the light ball is an art in itself. If you cup your hand too much,it restricts the light meter reading.
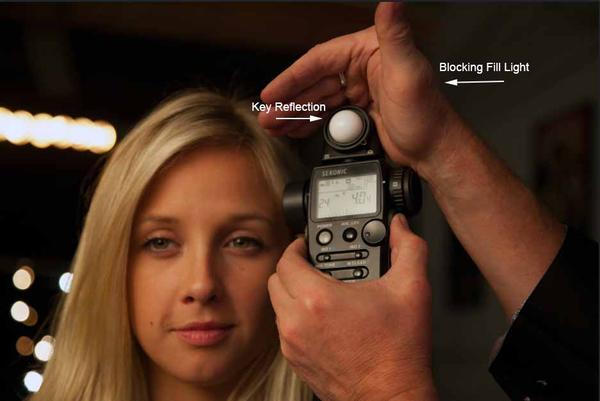
Sometimes I just put my hand up to block the other light that I do not want toinfluence the meter, so that I can take in as much of the key, back or filllight as possible for an accurate reading.
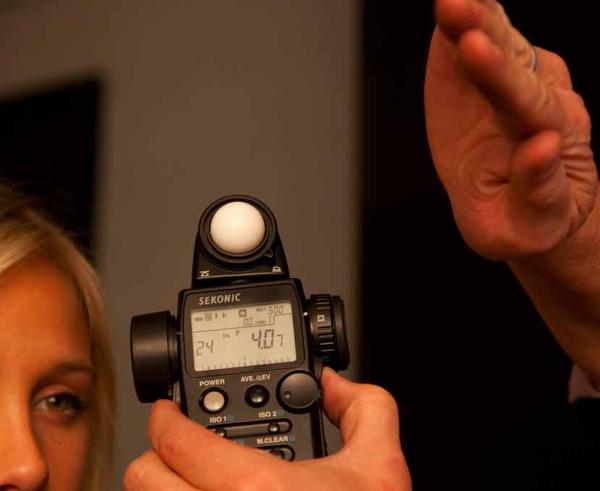
This is one way to cup your meter.This is cupping your ball to read only thekey light and taking the fill light and the backlight off the ball.
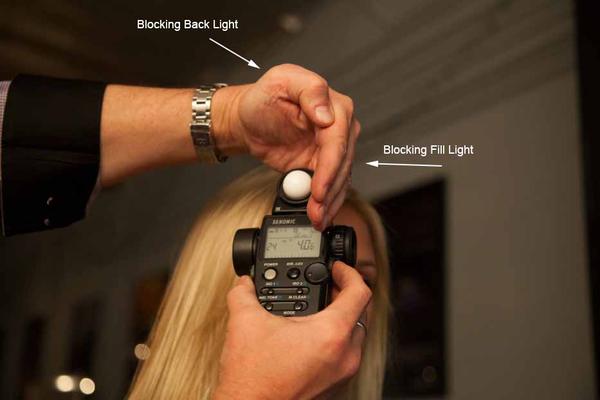
This is another way to cup the ball, surrounding it a little more.
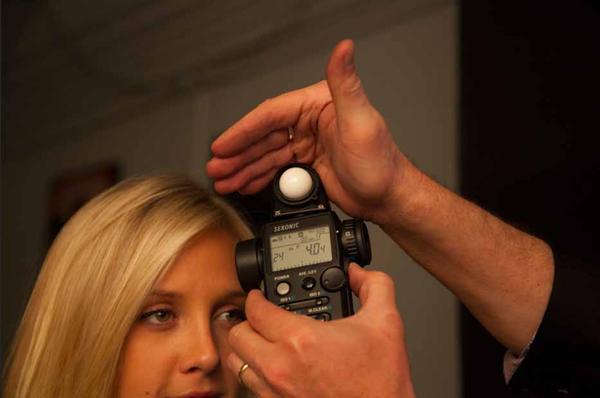
“Reading a Fill Light”
Reading afill light is just like the key light. Look at the reflection in your meter andmake sure the only light that you see reflected is the fill source. I have madeit a little easier by making the key light warmer than the fill light. That waywe can show the coolness is all that is hitting the incident meter’s ball, aswell as the shape being round, not a rectangle.
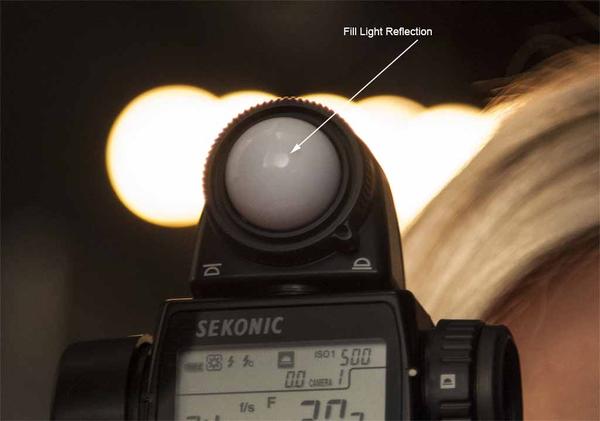 
Now you have the basics of reading light and my technique. Reading light is soessential to your creation as a cinematographer. Now get out there, read light,and take those mental snapshots. Stay tuned for a post on how to read a colortemperature meter.
The SekonicL-758Cine DigitalMaster Light Meter is my choice, but there areother Sekonic light meters at different price points to get you started. Linksto B&H are provided below.
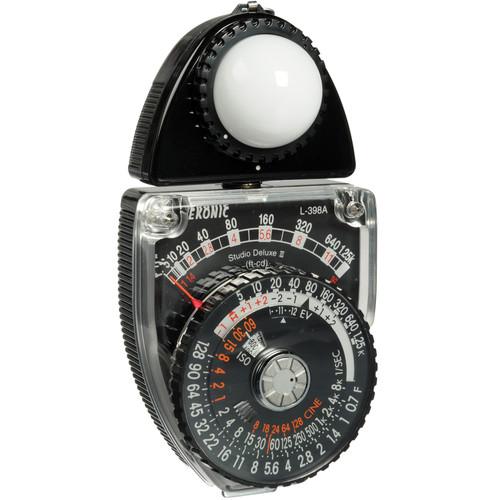
Sekonic L-398A Studio Deluxe III Meter
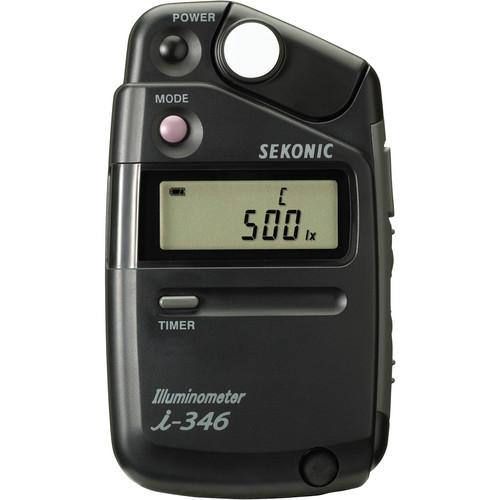
Sekonic Illuminometer i-346 Light Meter
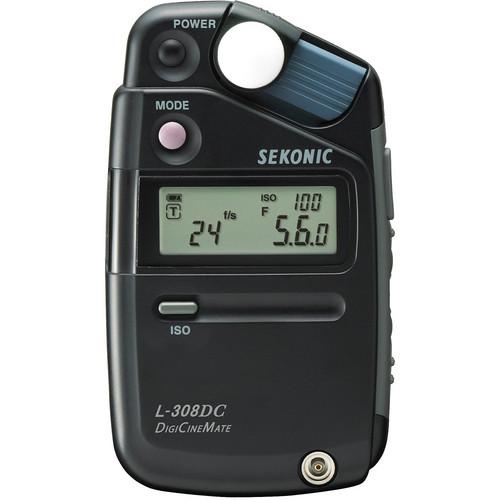
Sekonic L-308DC DigiCineMate
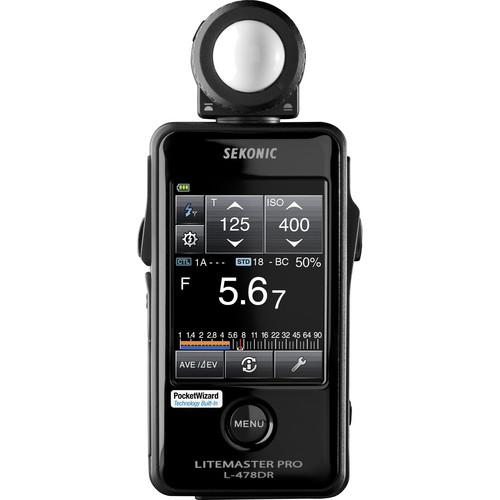
Sekonic Litemaster Pro L-478D and L-478DR Light Meter

Sekonic L-758Cine DigitalMaster Light Meter
Thanks to FilmtoolsRentals for supplying the Sekonic L758Cine Meter.
Shot at Revolution Cinema Rentals in SanFernando, CA.
Thanks to Paskal Lighting for donating all oflighting and grip equipment.
|
|